Printable certificate templates give you instant, professional grade awards without hiring a designer or buying costly software. Whether you need a free PDF certificate, an editable Word certificate, or a Canva-compatible design, you can download a ready-to-print file, swap out the placeholder text, add your logo, and print on any standard A4 or Letter-size paper in seconds. These templates cover everything from certificate of achievement and completion to employee recognition, sports awards, and kids-fun certificates, so there’s a style for every occasion—school assemblies, corporate milestones, community events, or birthday celebrations. By using a customizable certificate maker, you keep branding consistent, save time, and avoid the hassle of creating a layout from scratch. In the next sections we’ll show you how to choose the right format, edit colors and fonts, and print with perfect margins, so your certificates look polished and ready for display.
Why Use Printable Certificate Templates?
Printable certificate materials rid an individual of a laborious task of drawing out something from scratch but just filling up and also improves the organization’s image whilst entailing less expenses. The first and the most obvious one is monetary. Since most of the certificates printing assistance is offered for free, there is no need of employing a good designer, buying costly software for illustrations or having a fresh piece of art done up for every other new award. A single high resolution PDF or Word can be printed out as many times as needed by a school, company or even a social club without extra costs of royalties or licensing.
Consistent Branding
The cost advantage adds to the fact that all of these certificates are branded, which gives a professional look. In addition, a majority of designs consist of color tables, fonts that fit into the corporate branding, and spaces to place logos or seals. Apart from incorporating all your elements in every certificate, be it a perfect attendance recognition for a student or a five-year service award for an employee, it maintains the aesthetic appeal attaching each of them to the image of the brand so everybody involved takes it all seriously.
Speed and Ease of Use
A printable certificate eliminates the need for excessive technological processes which is vital to create any award program in days or even hours! It is just simple download-edit-print workflow consisting of three steps that the template will be downloaded, the text will be edited in Microsoft Word, Google Docs, Canva or any other editor familiar to the user and placed on plain office paper. It requires no graphic design expertise and can be done in a few minutes, even if there is a need for multiple certificates for a large function. Such quick turnaround time does not only enable time to be better utilized by the staff towards value addition activities but also enhances prompt issuance of recognitions which is critical for morale boosting and coming back again participation.
Popular Types of Printable Certificate Templates
Printable certificate templates come in a broad range of styles, each tailored to a specific audience or occasion. By selecting the most appropriate category, you not only speed up the creation process but also convey the right tone—formal, celebratory, or playful—without having to redesign a layout from scratch. Below is a concise overview of the ten most commonly used certificate types, together with practical tips on when and how to employ them.
Here is our collection of free Certificate Designs ready to edit and print as per your comfort.

Certificate of Appearance Templates
Total Certificates: 06 Designs
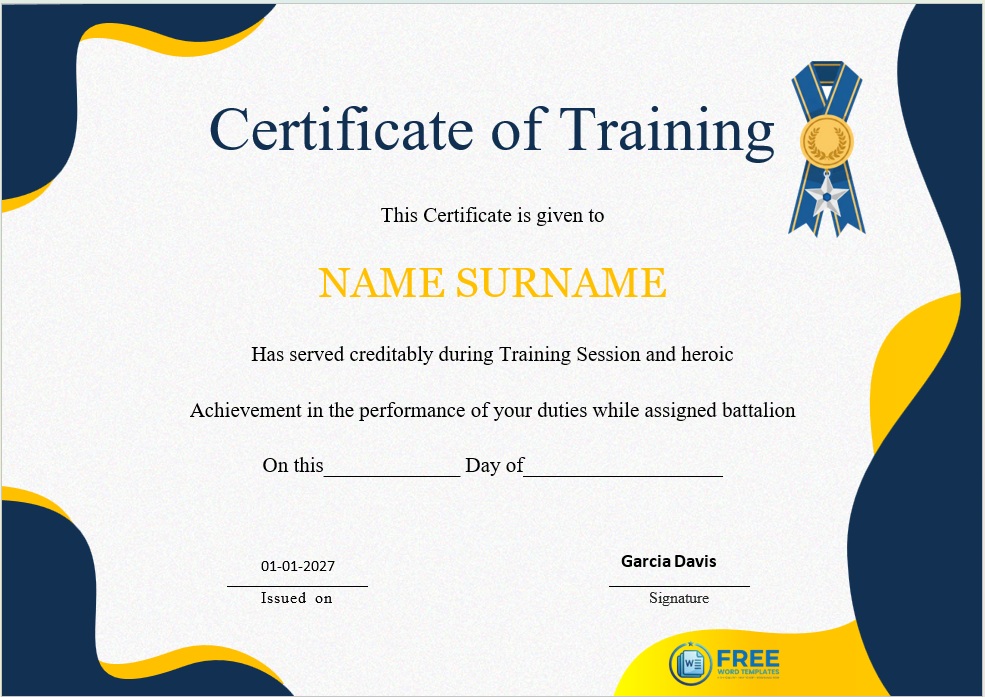
Training Certificate Templates
Total Certificates: 12 Designs
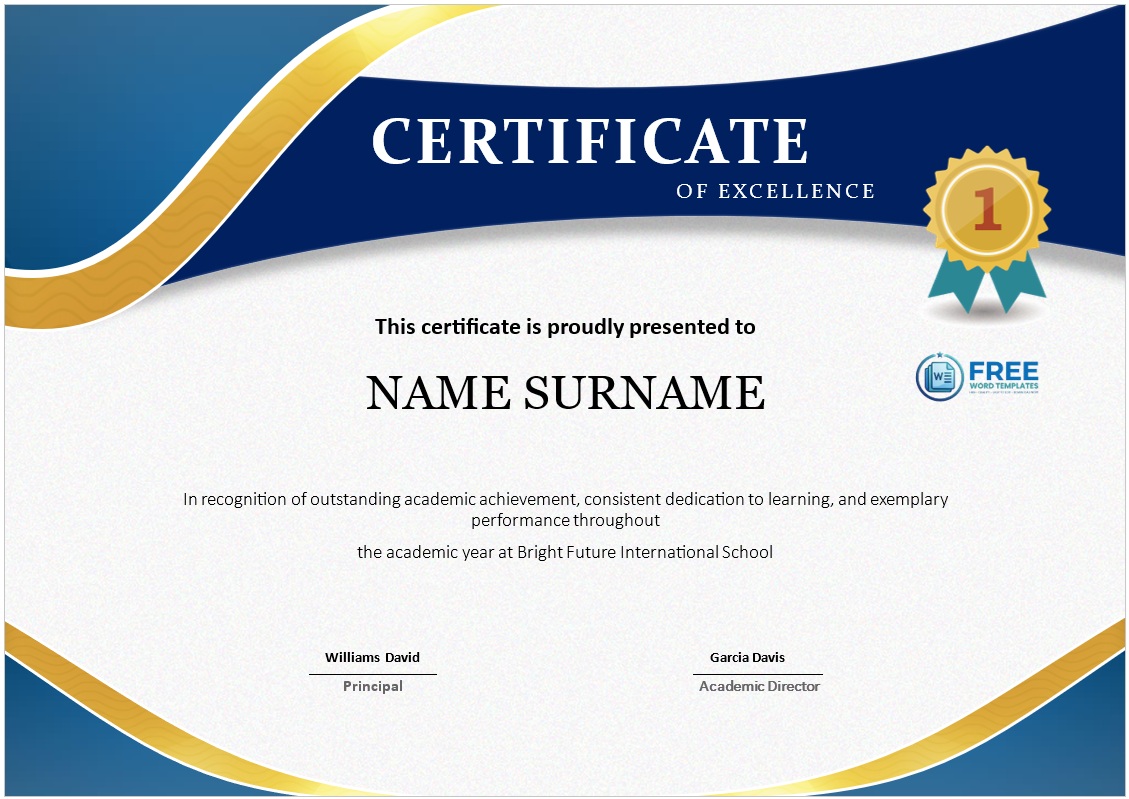
Certificate of Excellence Templates
Total Certificates: 19 Designs
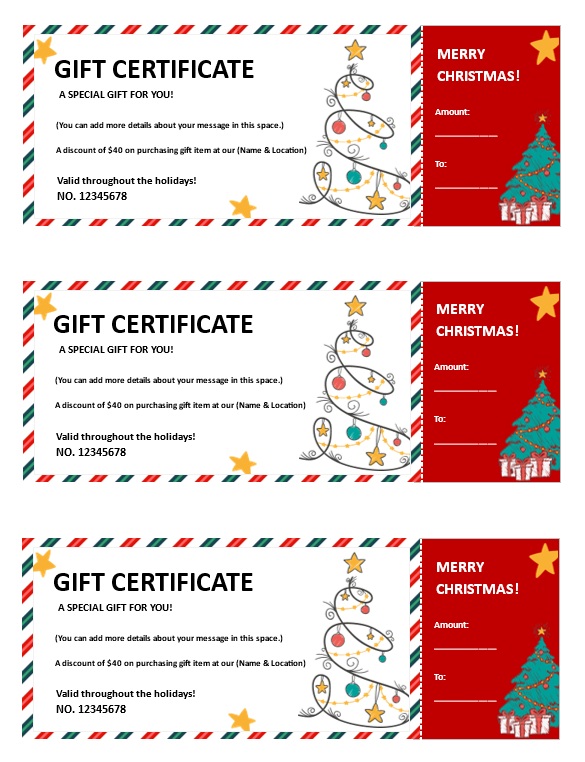
Christmas Gift Certificate Templates
Total Certificates: 21 Designs
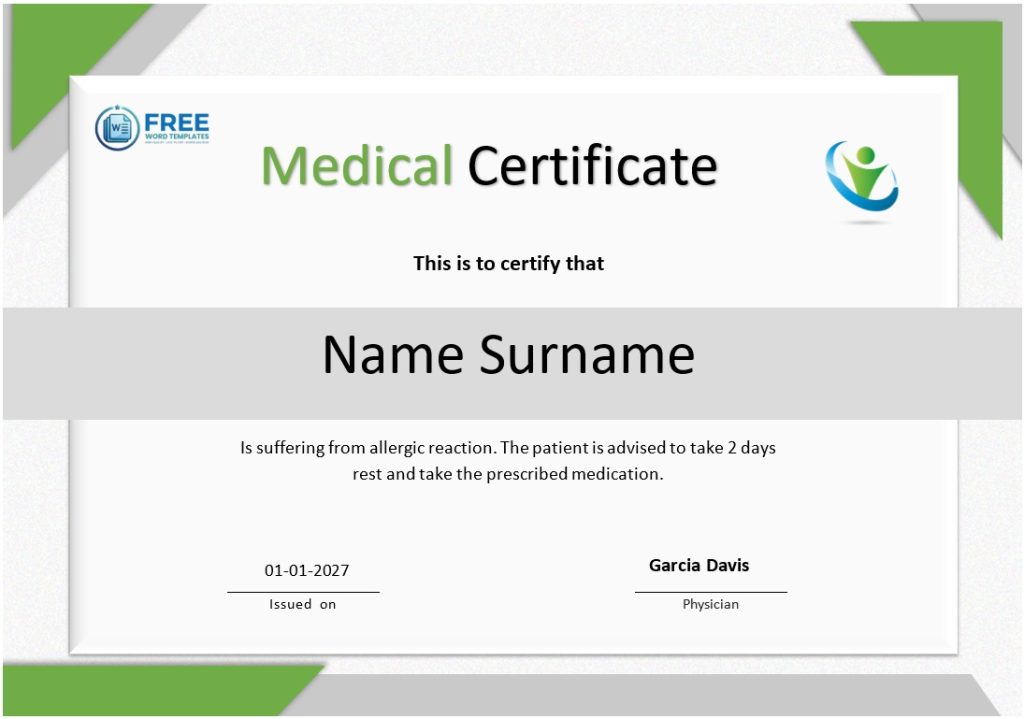
Medical Certificate Templates
Total Certificates: 11 Designs
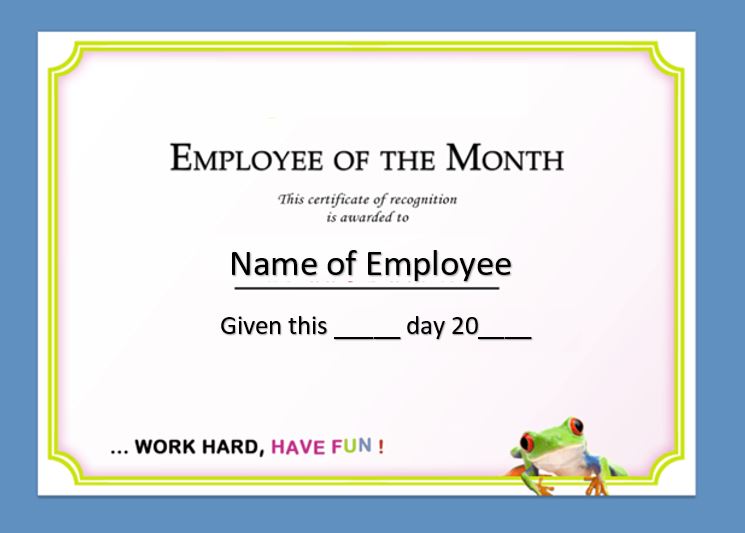
Employee of the Year Certificate Templates
Total Certificates: 03 Designs
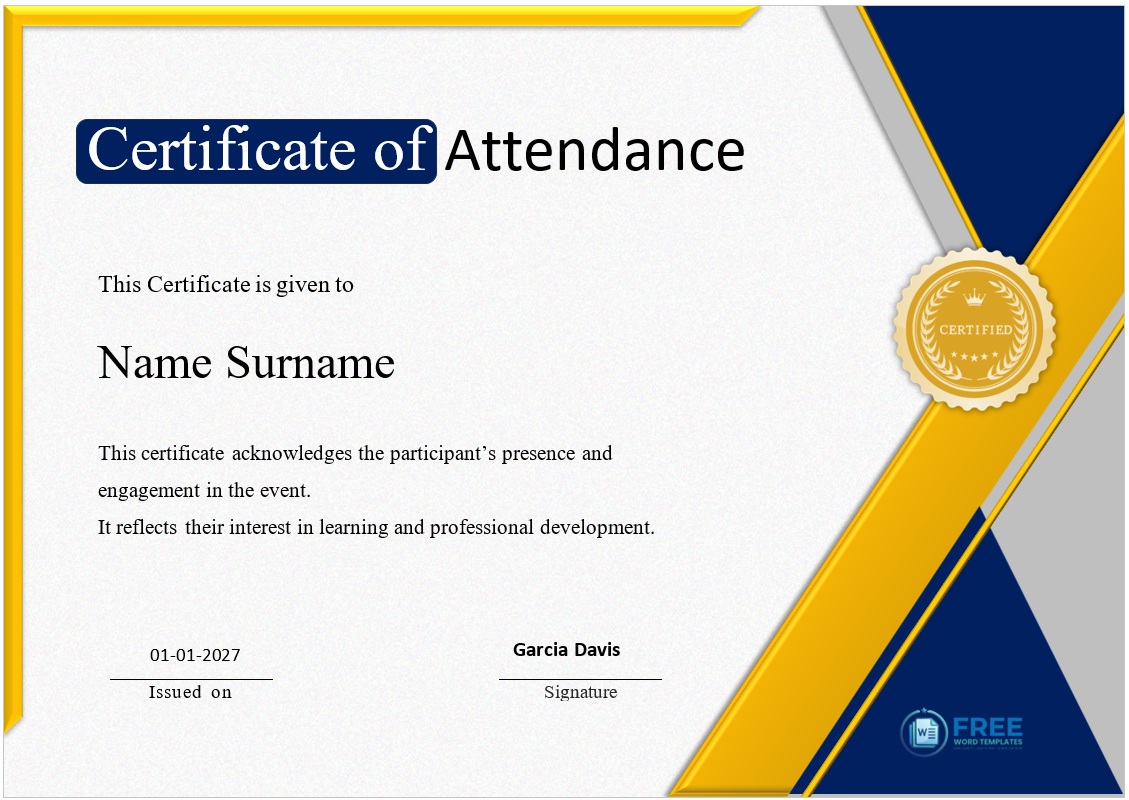
Attendance Certificate Templates
Total Certificates: 06 Designs

Official Marriage Certificate Templates
Total Certificates: 13 Designs
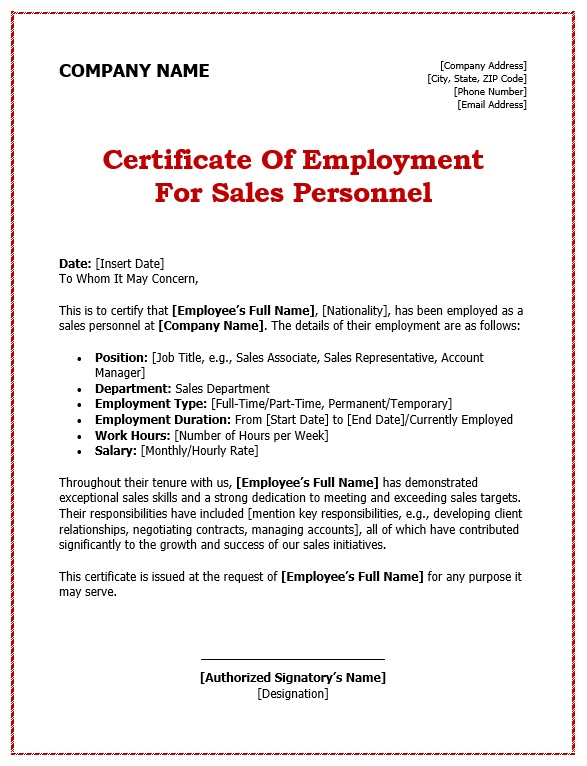
Certificate of Employment Templates
Total Certificates: 10 Designs
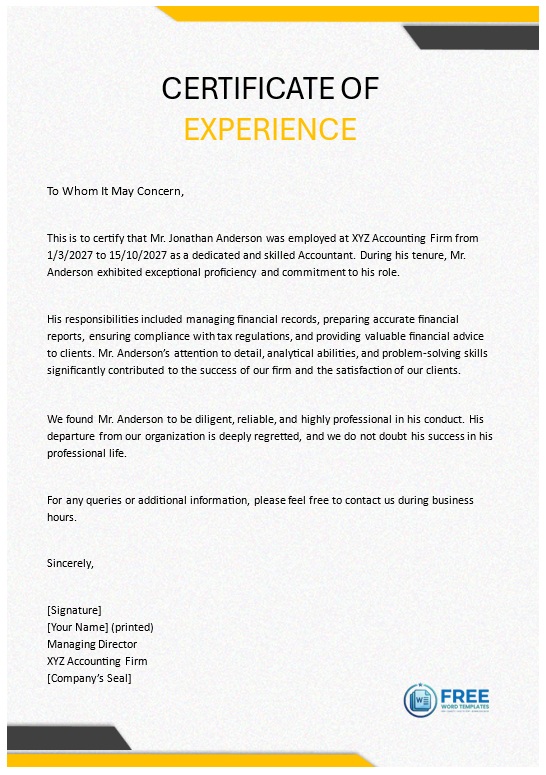
Experience Certificate Templates
Total Certificates: 06 Designs

Certificate of Honor Templates
Total Certificates: 10 Designs

Certificate of Achievement Templates
Total Certificates: 10 Designs
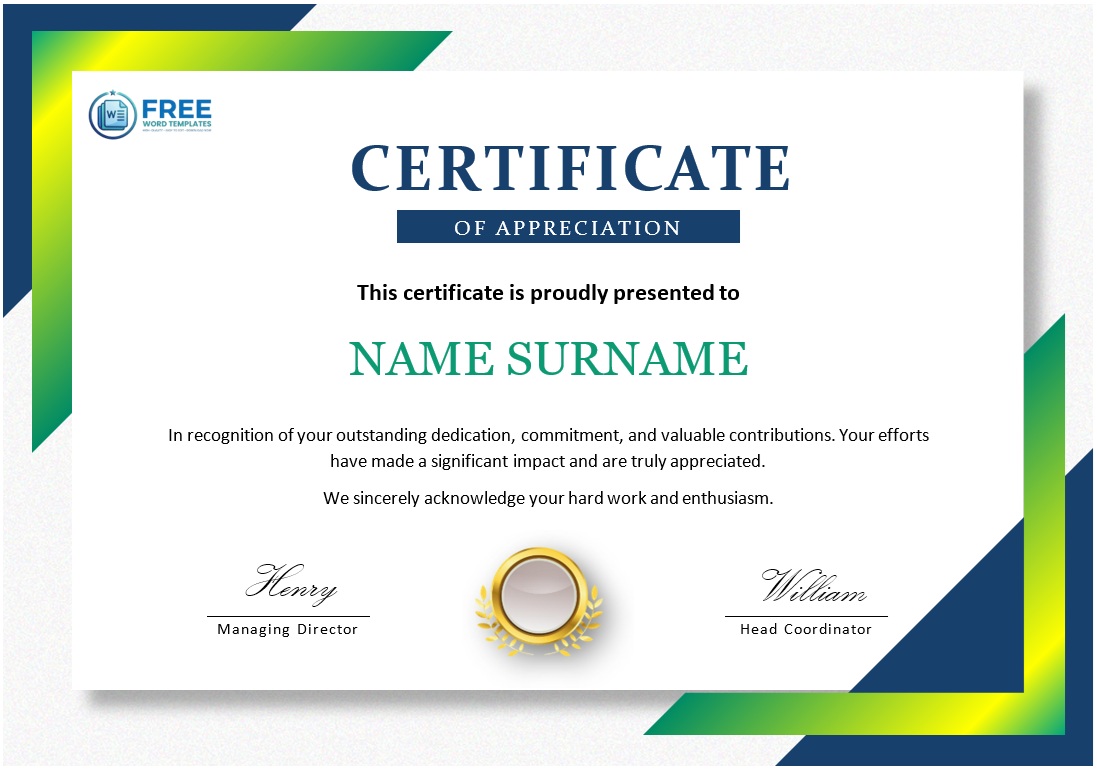
Appreciation Certificate Templates
Total Certificates: 11 Designs
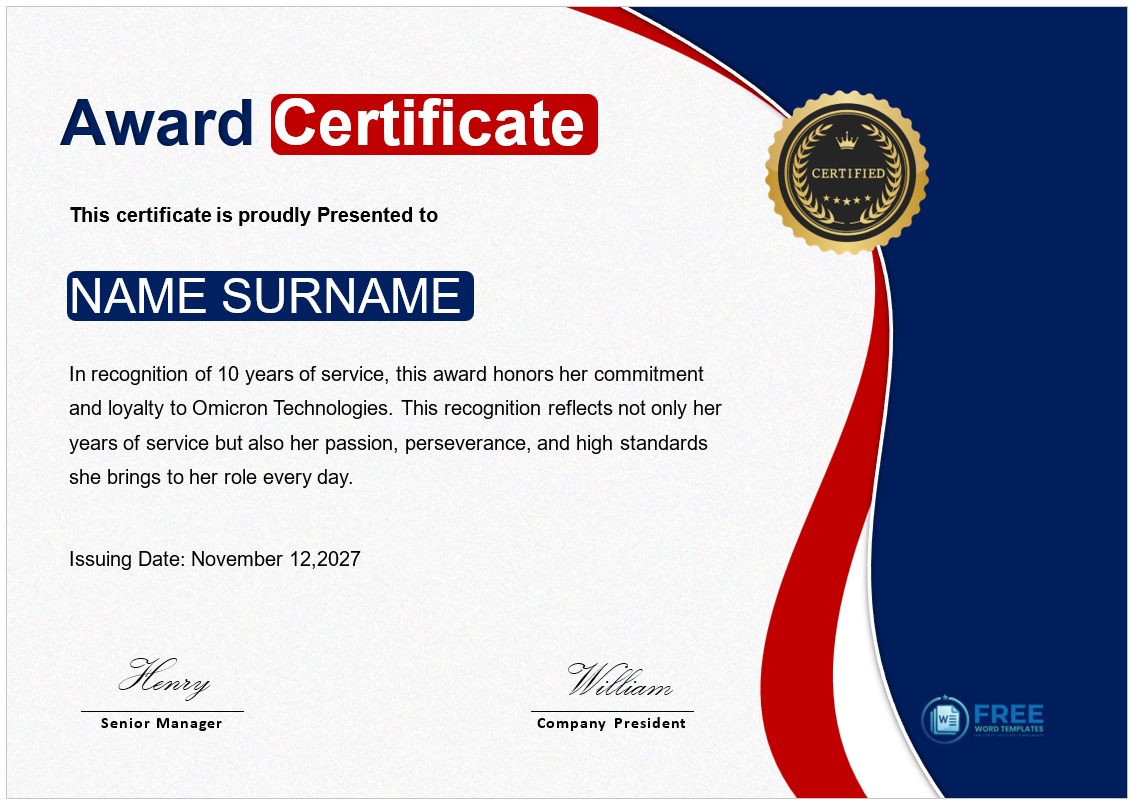
Award Certificate Templates
Total Certificates: 11 Designs
How Printable Certificates Work: From Download – Edit – Print
Here is a step by step guide to best use our provided free and editable Certificate Designs.
Choose the Right File Type (PDF, Word, Google Docs, PNG)
Your very first selection determines the ease with which you adjust the printable certificate. With PDFs every line, border, and embellishment is saved as property of the designer, which comes in handy if all you need is to ink in the name and perhaps a date too. Editable Word documents, however, can be customized with font changes, alteration of the line spacing or layout without reformatting the file, which comes in handy for companies where certificates are stored under one drive. If an Office-based approach is not your thing, Google Docs will help you out by allowing more than one team member to edit a file at the same time, and using a PNG graphic as post as an image in PowerPoint/Canva is advisable when more graphics are needed on top of the neat designed certificate templates. Determining the most suitable format for the environment in which you carry out your edits removes the necessity of changing the file into a different format and reduces loss of quality significantly.
Edit the Text, Colors & Logos
When the template is open, navigate to your preferred editor and edit the dummy contents of the award present in that template. Every template has tabs which indicate the text boxes contained in it like the one that says “Recipient Name” or “Award Title” or “Date,” all what you will need to do is click and enter the contents. To ensure that the color of the certificate matches one used by your institution for branding activities, you can alter the present color on the color picker by editing the hex and putting the hex of the institution. This includes the aspect of placement of the logo of your organization where you need to remove the existing image, then import a high-quality resolution png or svg of your logo, and adjust its place in the available space ensuring the borders are not destroyed. Having an option of using different ribbons, supposing that the template allows to have a ribbon or any other object, one can easily change the golden ribbon which portrays seriousness into some bright geometric shape with the same clean lines if need be thus accommodating different audiences with only one template design which is perfectly fine.
Add Signatures & Custom Ribbons
A signed certificate carries more authority than a plain piece of paper, and most downloadable designs include at least one signature placeholder. To add a new signature line, duplicate the existing text box, rename it to the appropriate signatory’s title (e.g., “Director of Training”), and type the name. If you have a scanned image of an actual signature, insert it as a small PNG with a transparent background, then adjust the opacity to match the style of the original. Custom ribbons work the same way: click on the ribbon graphic, delete it, and replace it with an image that reflects the specific award—such as a blue/orange badge for a “Team Player” accolade or a leaf motif for an environmental recognition. These tweaks personalize each certificate while preserving the consistent layout the template provides.
Print-Ready Settings (Paper Size, Orientation, DPI, Bleed)
Before submitting the file to the printer, make sure you check if your document is of the same size as the paper you selected in height and in width. Most printable certificate formats will be for A4 (210x 297 mm) or US Letter (8.5×11 in); in the build up to the celebration itself, these can be turned into portrait style if case dictates. The image resolution should be greater than 300 dpi in order to get the text sharp and the edges neat since there are any small lines or gradients. Padding should be placed into account whenever the printer accommodates borderless printing, these 0.125-inch (3mm) padding is useful to avoid white margins at the edges when cutting the paper. Lastly, open the file in ‘print layout’ view and confirm that nothing important on the file has moved beyond the safe zone, which is about 0.25 inches (6 mm) from the margin. This confirmation attests to the fact that once the certificate has been printed, it will be as neat and presentable as the digital certificate templates without any last-minute changes to be made.
Printing Best Practices
Choosing the right paper and printer settings is just as vital as designing a beautiful certificate; a poorly printed document can erase all the effort you put into the layout. Start with the paper stock: a medium-weight matte sheet (120?150?gsm) works well for most school and community awards because it absorbs ink evenly and reduces glare, while a heavier, glossy finish (200?250?gsm) lends a premium feel that suits corporate employee-recognition or graduation ceremonies. If you anticipate framing the certificates, the glossy surface enhances the contrast of borders and text, making the piece look museum-ready.
For making sure the designs and colors used in a document are correct, open the file and look at it in color and also in gray, as well. Many of the templates have been created in such a way that they would look good in color but can always be produced in black and white where possible, especially when dealing with large orders as it helps cut costs or for institutions which only have access to few color printers. However, where the layout is based on the use of specific colors or ribbons for detail, full colored printing maintains the desired balance in the design by ensuring that known features do not mix in with the rest of the content.
Bleed along with margin settings sometimes are forgotten and cause ugly white edges on the artwork if not considered. Most templates which are designed by professional include an outside boundary extension of 0.125 inches (3 mm) referred to as bleed, hence a trimming excess must be set in the printer or printed materials to be ‘fitted to page’ adjusted d with a a small margin of error so that drawings reach the edge of the paper. In addition to that ensure there is a safe margin of 0.25 inches or 6 mm from all sides where there are texts and logos. This margin that is presented protects against slight slips during cutting and assures all information preserved will not be of any use.
Printing double-sided certificates is useful for programs that require a back-of-certificate disclaimer, QR verification code, or additional instructions. Align the front and back layouts carefully, using a printer that supports manual duplex or an automatic duplex feed to keep pages from flipping incorrectly.
In conclusion, engage in green environmental practices while conformity is maintained. There are plenty of eco-friendly recycled paper options that are sheriff and available in many places, including within reach the standard bleach white paper. Manufacturers also suffer little chlorine or palm oil paper type like A toggle which is certified by committing. For drafts, the printer’s toner saving mode should be enabled but the final version needs to be of highest quality borders version (300dpi or above) to be used. Each printable certificate should be mindful of paper type used, color setting, bleed, the borders and eco-friendly design of the items so that it mirrors each of the printable form without the compromise on the quality delivered to the client.

Pete Smith is a Business Management graduate and a passionate advocate for practical, accessible resources that empower professionals and entrepreneurs to succeed. With a strong foundation in organizational strategy and operational efficiency, Pete combines academic knowledge with real-world insights to simplify complex business processes. He is the creator behind a growing online platform dedicated to offering free, high-quality documents, templates, and actionable tips designed to save time and improve productivity.